
Personal Layers
Set up your favorite locations and layers to include your home address, IPFS office, frequently used hotels, luncheon locations, and any other recurring locations you visit.
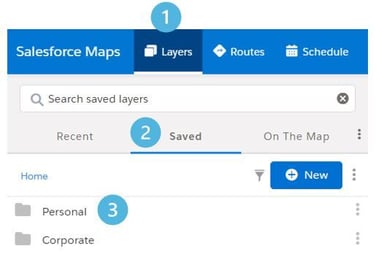
Open Personal Folder to Add a Favorite
- Click Layers.
- Click Saved tab.
- Click Personal folder (it will be blank)
 Create a Favorite
- Hover on + New.
- Select Favorite Location.
- Enter a name and address.
- Click Save and Plot. It will appear on the map.
Repeat the above process for all favorite locations.
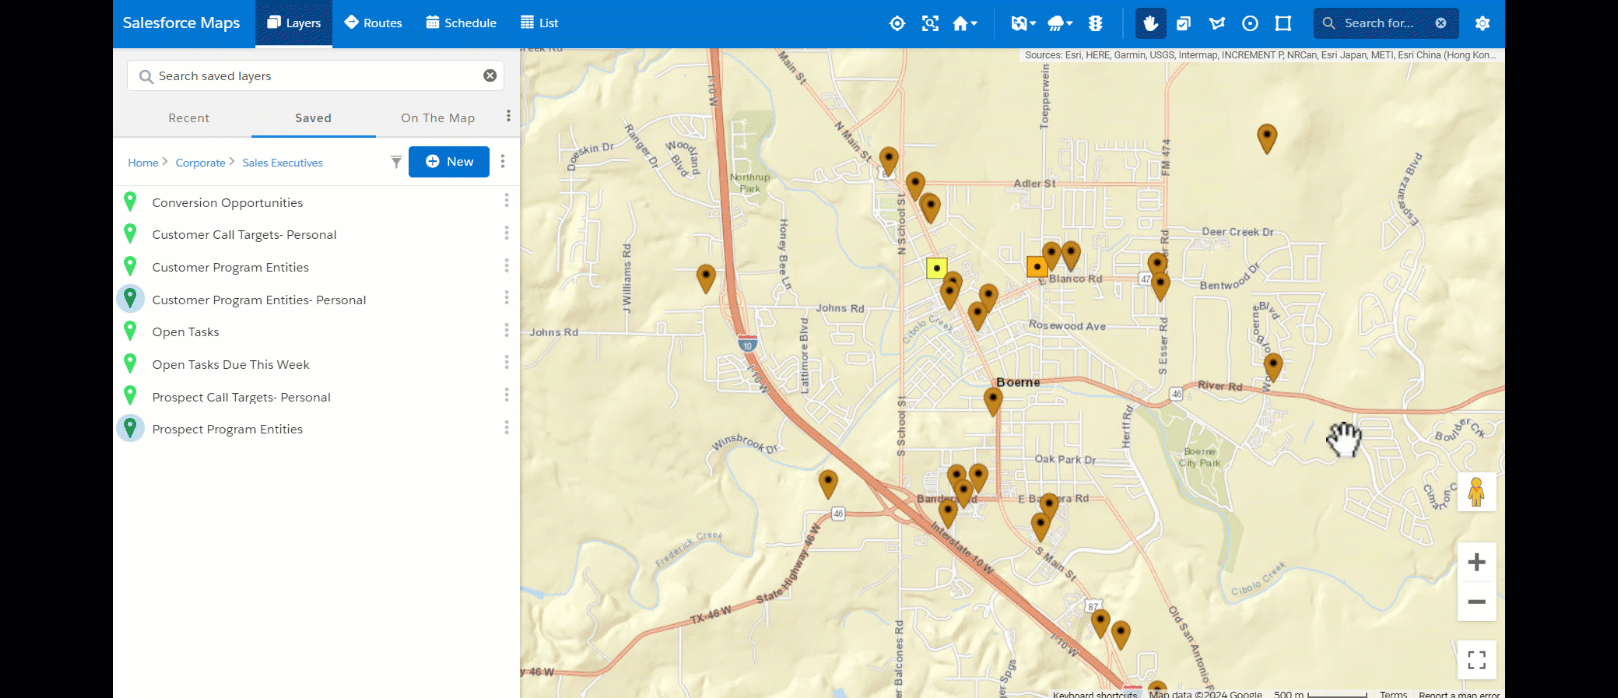
Load Prospect and Customer Entities
Entities within your book, which are already entered in Salesforce, can be plotted on the map in order to build layers and divide your territory for effective routes.
From the Layers Tab:
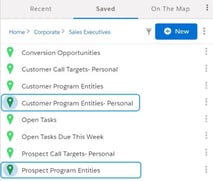
- Click Saved.
- Select Corporate folder.
- Select Sales Executives folder.
- Choose Prospect Program Entities & Customer Program Entities - Personal.
- Customer Program Entities - Personal is your territory as a Sales Executive.
- Customer Program Entities is for District Sales Leaders (so they can see their team's territory).
To save time: Plot these layers on every load of the map! From within the folder, click the 3 dot menu next to the layer name and select 'Toggle Plot on Load' under Actions.
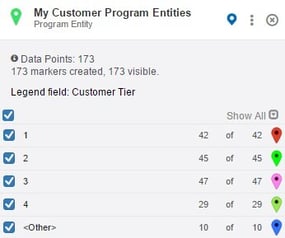
The Legend designates the entities based on their Tier or Stage depending on the layer selected. Un-check the box to remove a Tier or Stage from your view.
Click the X in the top right corner to remove the layer from your map. Click Saved tab to return to Corporate layers.
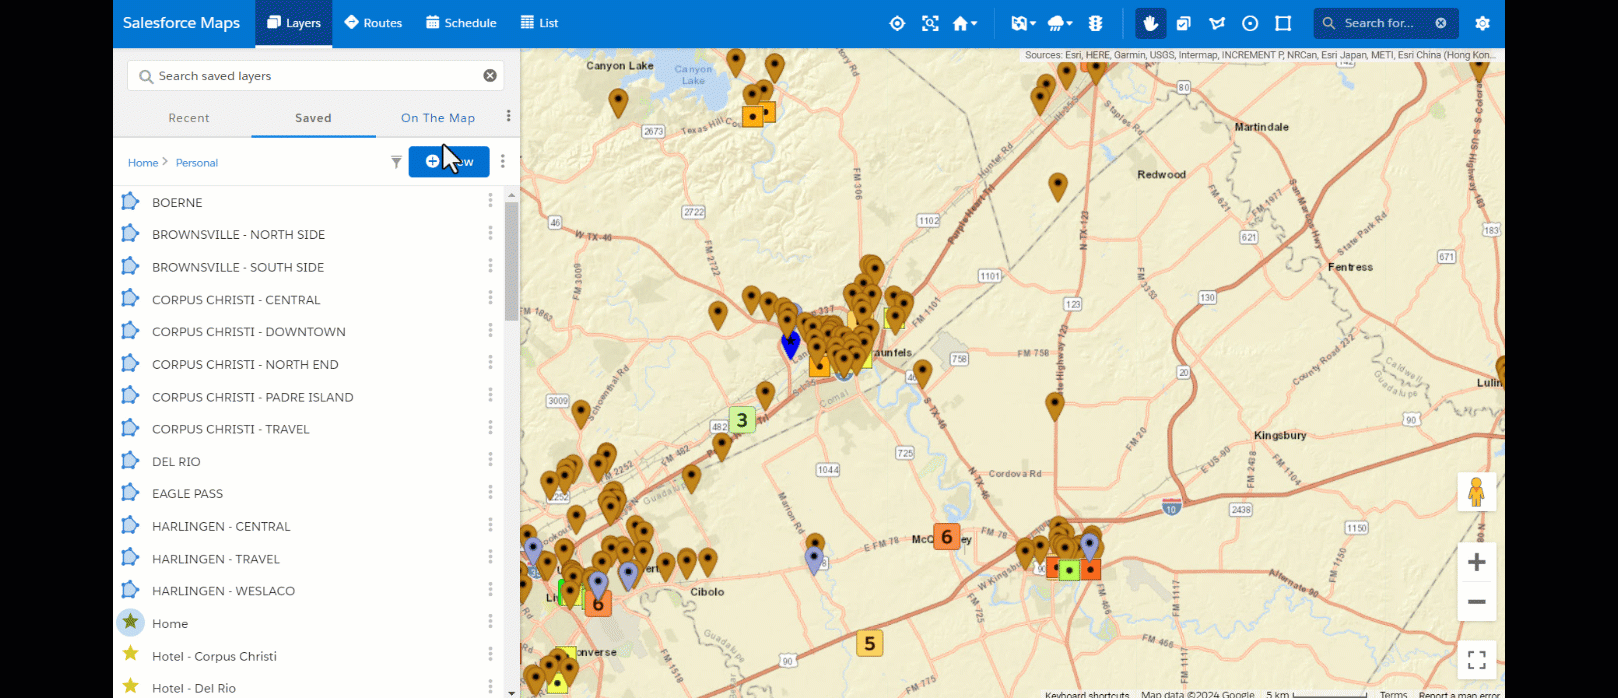
Using Layers
Divide your focus area to break up your territory into smaller pieces, making your daily route more easily accessible.
Save Shape as Layer
- Click Draw Polygon on the top right.
- Click (don't hold) and drag mouse to draw the shape around the area you want to build out.
- This could be based on travel, traffic, or number of entities in the area.
- After the boundary appears, right click and Save as Shape Layer.
- Enter a name for the layer.
- Use a naming convention to keep them easy to find. For example, the town name with the area (ex: Laredo - South).
- Click Folder, select your name.
- Click Save and Plot to stay on the screen.
You can delete or edit shape at any time. To edit the shape, click the 3 dot menu next to the saved layer name > Edit Shape. Use the circles to move the boundaries. Right click within the boundary, then click Stop and Save for it to update.
Review Settings
Click the gear icon on the top right of the map. Click Routes & Schedule.
![]()
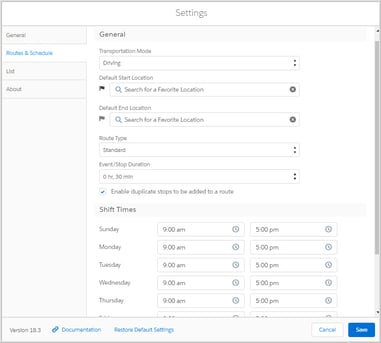
Transportation Mode default is Driving.
A Favorite Location can be set as a Default Start Location for your routes. Leave End location blank.
Route Type defaults to Standard.
Stop Duration defaults to 30 minutes, but you can change using the drop down.
Shift Times set daily work hours to appear on your schedule.
Additional Tips
Points of Interest
Search for nearby Points of Interest using the search bar on the top right. For example, look for nearby hotels or other Insurance Agencies.

Search results will display. Places are results from Google Maps. Records in Marker Layers returns any Salesforce Program Entity records within your current layer containing your search criteria. Records in Salesforce returns all records (events, etc) within Salesforce containing your search criteria..
Additional Toolbar Objects
Traffic Light Icon
Click to view current traffic conditions.
Weather Cloud Icon
Click to view weather radar in the area.
Map
Additional map views of road map, satellite, terrain & hybrid.